Child’s Apron Tutorial
Apron Template Download
- Download the template and cut two pieces, one for the front and one for the back.
- Cut 1 strip of fabric 4 inches by 45" (ruffle)
- Cut 1 strip of fabric 5 inches by 25" (waistband) Finished size is 20 -23 inches. Take your child's waist measurement and add about 5 inches to determine the length of fabric needed.
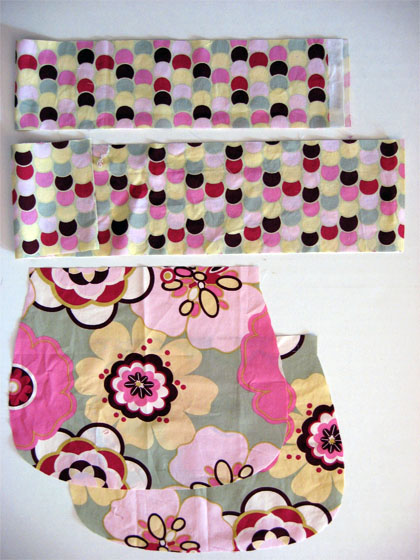
Press ruffle piece (4 " X 45" long strip) in half lengthwise
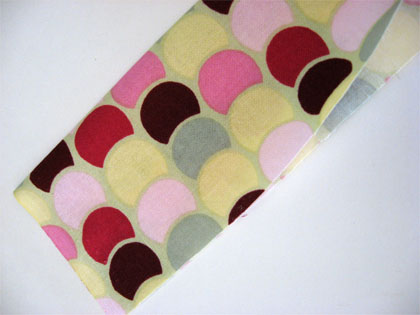
To finish the ends of the ruffle, take the end and fold right sides together then stitch across the end about 1/4" from the edge. Repeat for other end.
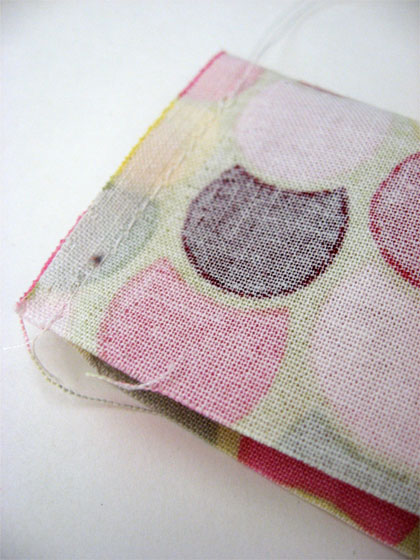
Turn right side out.
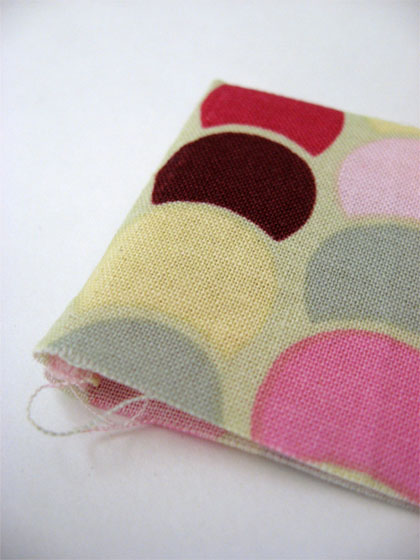
Gather the ruffle piece. I do this by zig zag stitching over a piece of dental floss, making sure to not stitch into the dental floss.
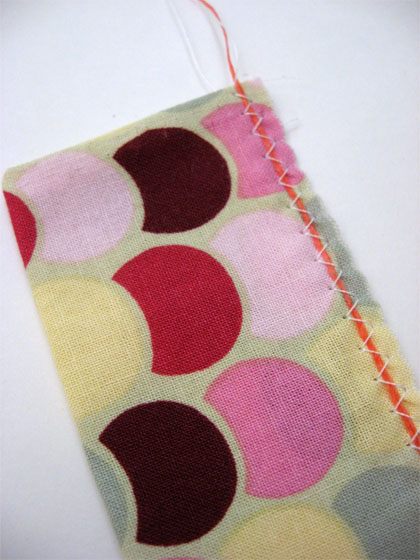
Fold piece in half to find the middle and pin.
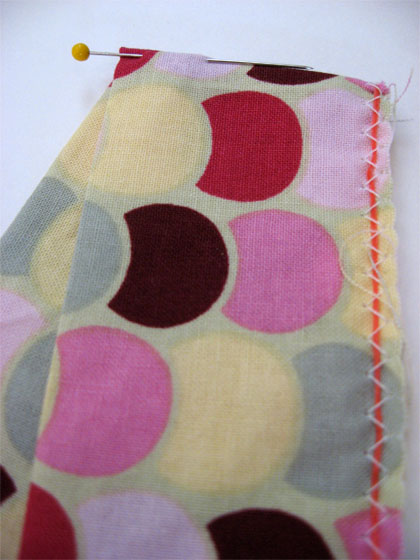
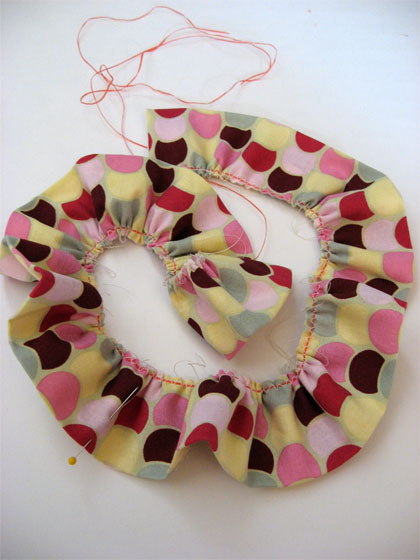
Gather evenly.
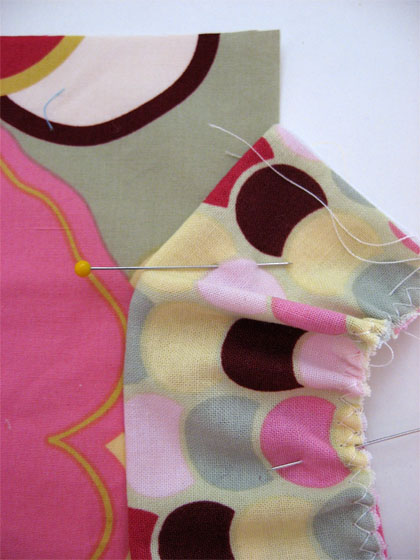
Matching center of ruffle with center of apron, pin ruffle to right side of apron.
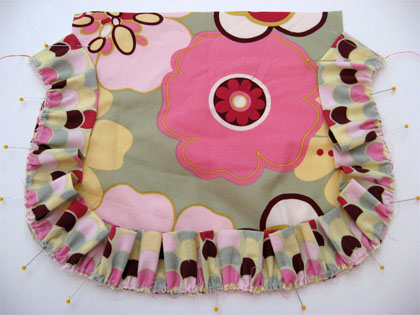
Notice how I placed edge of ruffle hanging off the edge of the apron. To make the ruffle taper into the apron, bring the finished end point of the ruffle over to the marking line on the pattern. You may also choose instead to make it go straight by lining up the unfinished edge all the way up the side, just stop at the line (see template).
Place other apron piece on top, pin and then stitch all the way around 1/2 inch from the edge. It worked for me to hold the fabric from the front and back and slightly pull while sewing to keep the top and bottom layers flat. I have a setting that allows the needle to remain in the fabric when I stop-- this helps me also.
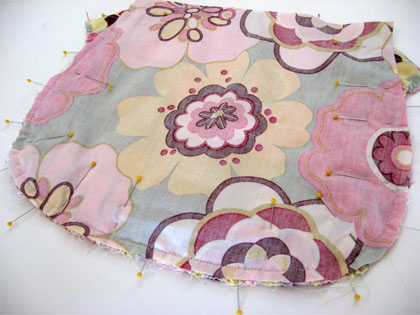
Turn right side out and
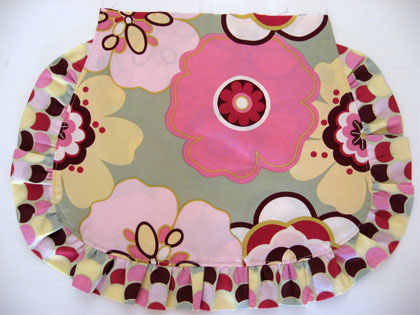
top stitch all the way around sides along the ruffle. You do not need to stitch across the top.
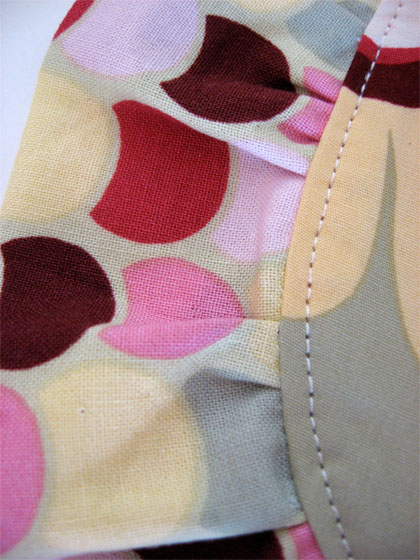
For waistband. Press 5" X 25" inch piece in half lengthwise. Open up and press each edge to center, then fold in half and press(for a visual on this technique look here on how tote bag strap is pressed). Finish each end the same way as the ruffle ends. Pin to top of apron.

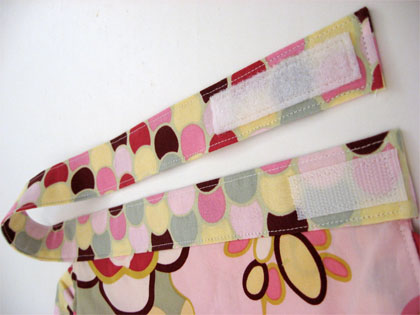
Top stitch all the way around the edge. Sew a two inch piece of Velcro to the back of the front of the apron and a three inch piece to the end of the strap. This allows the waist to be adjustable.
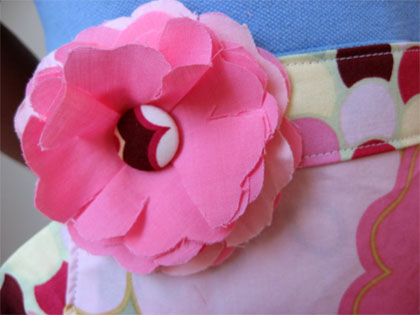
I added a flower to the front of the apron where the Velcro was sewn. You can learn how to make the fabric flower from Wisecraft.
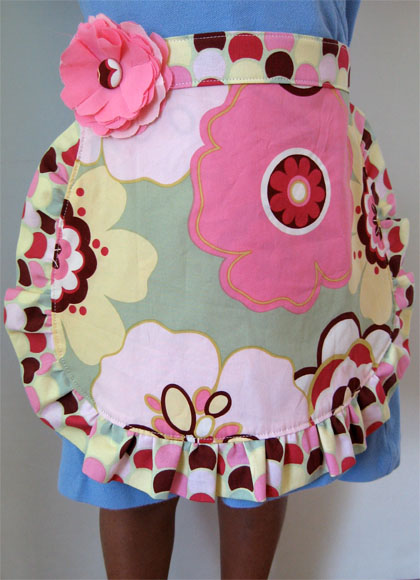
Not only does she look fancy while she is cooking, she can put it on and take it off all by herself!
http://www.skiptomylou.org/
If you could please say that this tutorial came from Skip to my Lou when using a complete tutorial without permission. Thank you!
ReplyDeleteI ask of the permission to publish materials of your blog, on my blog "Mine рукодельки" with a direct reference on it.
ReplyDelete