Monday, May 17, 2010
Идея летнего платья для девочки
Несколько десятков минут, пара несложных работ по шитью, немного ткани и усердия – и у вашей дочечки новое летнее платье.
Нам понадобится:
- Детская майка.
- Ткань (любая, главное чтобы она бела по-летнему легкая, подходила по расцветке с майкой, в нашем случае это ситец).
- Тесьма (для низа платья).
- Швейная машинка, нитки, ножницы, портновские иголки.
У майки отрезаем верх, оставляя от проемов рукавов 3 см, потом режем от майки еще 2 полоски по 2 см.
Сшиваем полоски в единую длинную полосу.
От ситца отрезаем отрезаем шириной 40 см длиной 90 см, обрабатываем края швом зиг-заг. К нижнему краю пришиваем тесьму, а верхний край присбариваем в рюш, пришиваем к майке.
По середине широкой полосы прошиваем шов, присбариваем в рюш. Прикалываем портновскими иголками к вороту майки.
Пришиваем рюш, из остатков ситца сделайте цветок, пришейте его к вороту платья.
Платье из майки готово!
Ко дню рождения годовастика
Первый юбилей вашего ребенка практически одно из важных событий молодых родителей. И они стараются одеть виновника праздника торжественно, празднично. Но если так оказалось что праздничного костюма нет, а семейный бюджет не позволяет новых покупок, то не отчаивайтесь, мы вам покажем мастер-класс по пошиву праздничной футболки.
Нам понадобится:
- Белая футболка или комбинезон.
- Розовый фатин.
- Немного коричневой, белой, красной, желтой и цветочной ткани.
- Швейная машинка, ножницы, иглы, нитки.
Коричневую ткань режем на полоски, пришиваем к белой. Вырезаем форму “пирожного” пришиваем к центру футболки.
Из цветной ткани вырезаем “крем пирожного”, также пришиваем “свечку”.
Теперь из фатина вырезаем две полоски шириной 2 см, длиной по 20 см, сшиваем их в рюши, пришиваем на “крем пирожного”.
Из цветочной ткани также шьем рюши, пришиваем как “сливки пирожного”.
Украшаем также рукава футболки – теперь у вашего малыша есть футболка на 1 год.
Подушки и летнее настроение
Лето шаг за шагом набирает силу и уже хочется каких-то совсем летних декоративных штучек, чтобы при взгляде на комнату солнечное и радостное настроение возникало за считанные мгновения. Сегодня мы будем делать своими руками летний декор подушки, для чего нам понадобятся листья антуриума разного размера.
1. Губчатой кистью нанести краску на обратную сторону листика, чтобы были видны все прожилки. Но не делайте слой слишком жирным. Чем тоньше будет слой краски – тем больше деталей останется на подушке. Переверните лист и приложите его к ткани подушки
2. Покройте лист бумажным полотенцем и проведите по нему валиком несколько раз.
3. Аккуратно снимите лист, подняв его вверх. Скорее всего стебель не отпечатается, поэтому его лучше рисовать отдельно. До наложения цветов друг на друга, позвольте первому рисунку высохнуть. Когда вы перенесете все запланированные вами листочки, закрепите краску с обратной стороны подушки утюгом (следуя инструкции производителя красок)
Вот так. Все гениальное просто!)
Листики можно располагать в хаотичном порядке, а можно придумать симметричный узор, но для этого понадобится предварительная разметка подушки. Да, и ещё мне кажется можно не заморачиваться при невозможности отыскать листья этого загадочного антуриума, а использовать любые другие понравившиеся вам листики.
Sunday, May 16, 2010
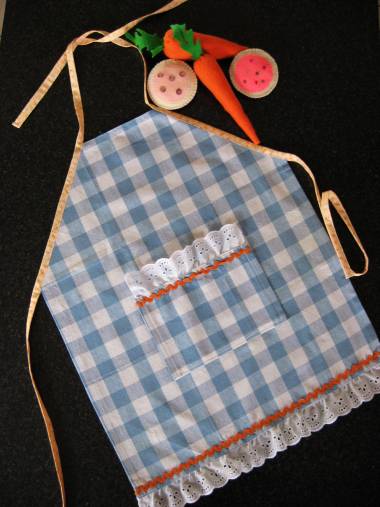
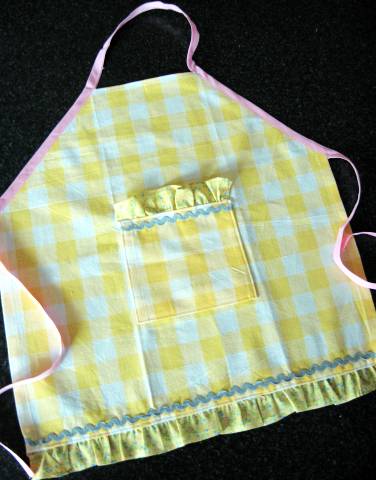
Очень красивый фартук
Child’s Apron Tutorial
Apron Template Download
- Download the template and cut two pieces, one for the front and one for the back.
- Cut 1 strip of fabric 4 inches by 45" (ruffle)
- Cut 1 strip of fabric 5 inches by 25" (waistband) Finished size is 20 -23 inches. Take your child's waist measurement and add about 5 inches to determine the length of fabric needed.
Press ruffle piece (4 " X 45" long strip) in half lengthwise
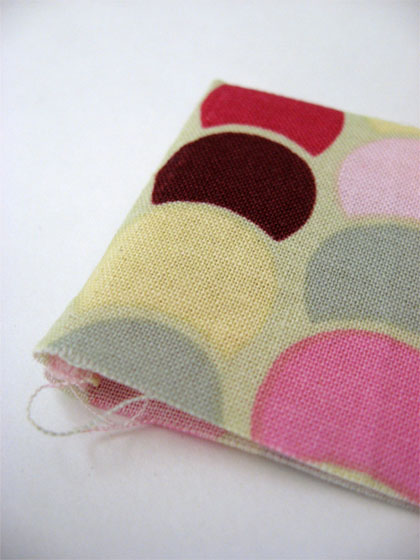
To finish the ends of the ruffle, take the end and fold right sides together then stitch across the end about 1/4" from the edge. Repeat for other end.
Turn right side out.
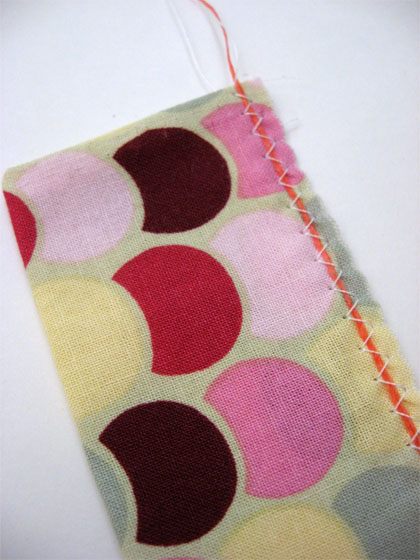
Gather the ruffle piece. I do this by zig zag stitching over a piece of dental floss, making sure to not stitch into the dental floss.
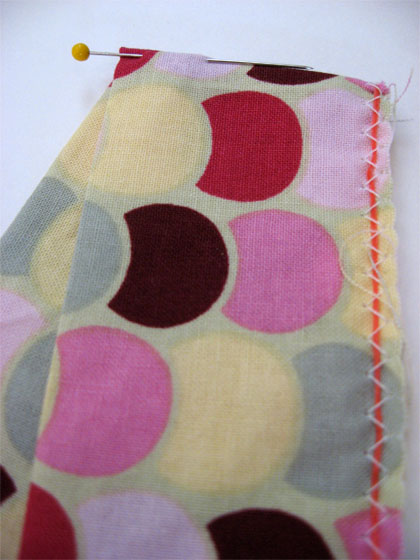
Fold piece in half to find the middle and pin.
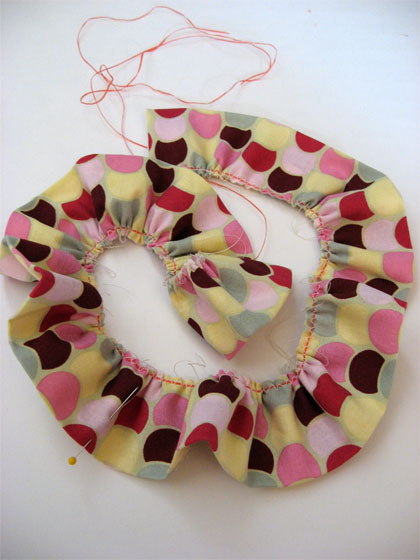
Gather evenly.
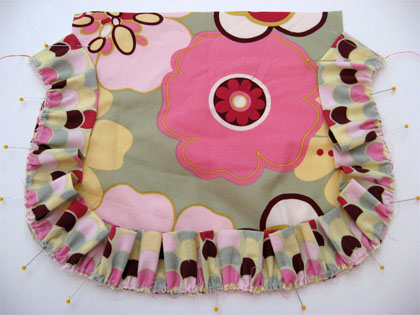
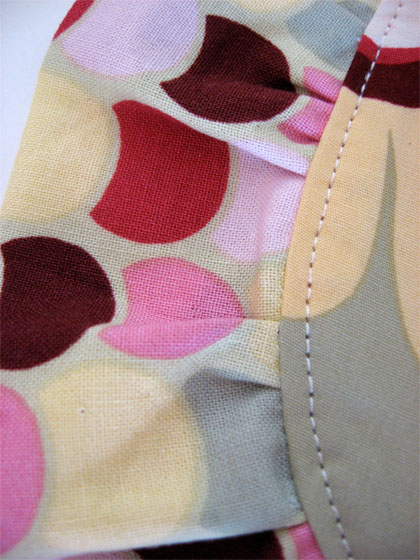
Matching center of ruffle with center of apron, pin ruffle to right side of apron.
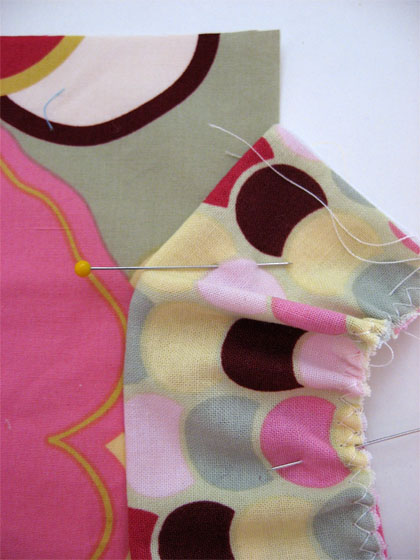
Notice how I placed edge of ruffle hanging off the edge of the apron. To make the ruffle taper into the apron, bring the finished end point of the ruffle over to the marking line on the pattern. You may also choose instead to make it go straight by lining up the unfinished edge all the way up the side, just stop at the line (see template).
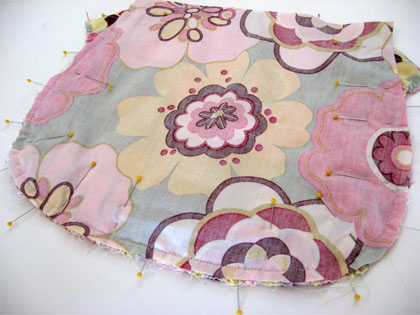
Place other apron piece on top, pin and then stitch all the way around 1/2 inch from the edge. It worked for me to hold the fabric from the front and back and slightly pull while sewing to keep the top and bottom layers flat. I have a setting that allows the needle to remain in the fabric when I stop-- this helps me also.
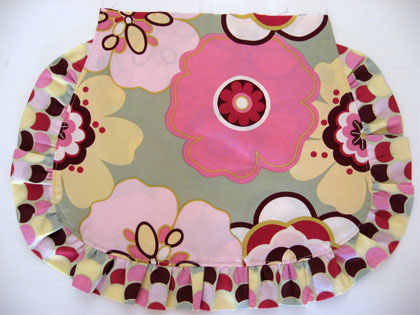
Turn right side out and
top stitch all the way around sides along the ruffle. You do not need to stitch across the top.
For waistband. Press 5" X 25" inch piece in half lengthwise. Open up and press each edge to center, then fold in half and press(for a visual on this technique look here on how tote bag strap is pressed). Finish each end the same way as the ruffle ends. Pin to top of apron.
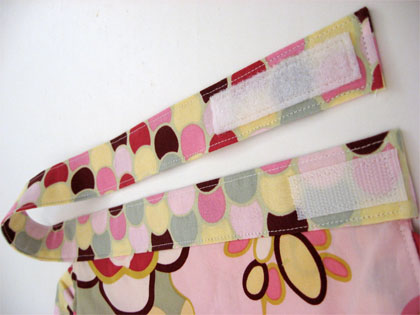
Top stitch all the way around the edge. Sew a two inch piece of Velcro to the back of the front of the apron and a three inch piece to the end of the strap. This allows the waist to be adjustable.
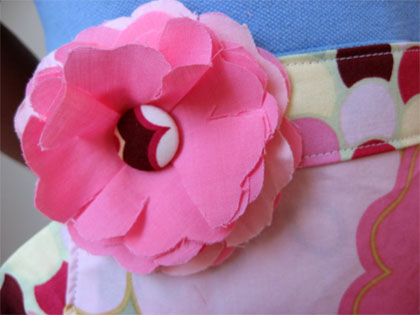
I added a flower to the front of the apron where the Velcro was sewn. You can learn how to make the fabric flower from Wisecraft.
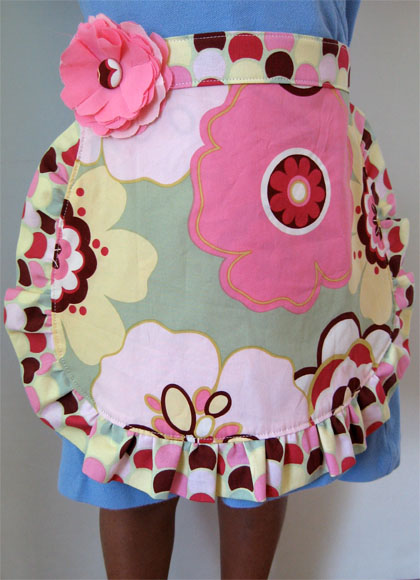
Not only does she look fancy while she is cooking, she can put it on and take it off all by herself!
http://www.skiptomylou.org/
Как сшить простой и красивый фартук
A Tea Towel Apron is one of the quickest and simplest aprons to make!
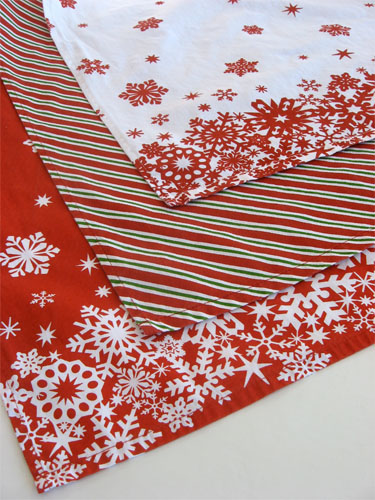
Grab a tea towel and a half yard (or at least 16") X 45" wide matching fabric and you are ready to make a great gift!
I wanted to make cute holiday aprons and found these tea towels from the Martha Stewart collection at Macy's.
Making the waistband/sash
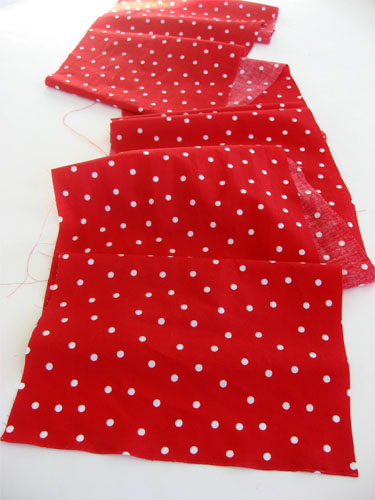
Cut the half yard or 16" of fabric in half lengthwise, so you have two long pieces at least 8" wide.
Using about 1/4" to 1/2" seam, sew right sides together at one end.
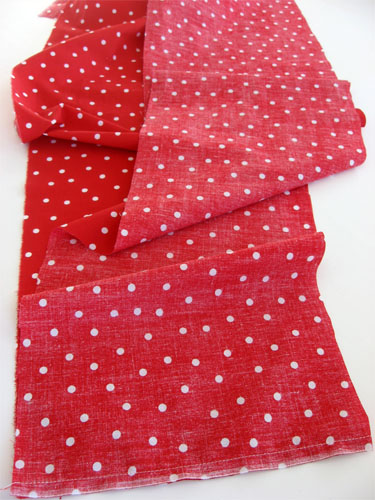
Press entire length of fabric in half lengthwise, wrong sides together.
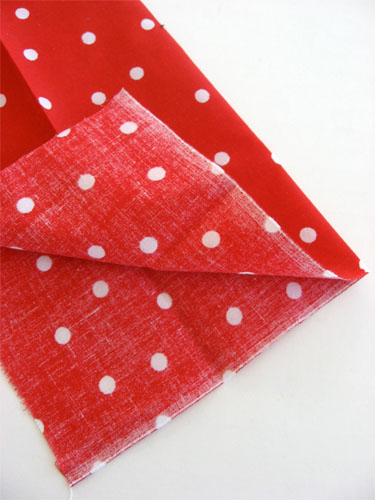
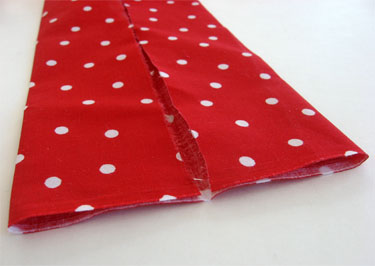
Open fabric up and press each edge to the middle. Yes, it is a long piece of fabric but the pressing is the hardest part and this makes such a nice looking waistband!
Fold in half and press again.
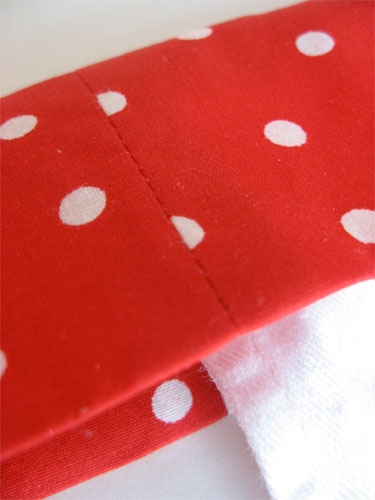
To finish each end, fold the fabric in half the other way and stitch 1/4" from the edge. Repeat on other end.
Turn right side out, make sure corners are pointed and press.
Attaching the apron to the waistband/sash
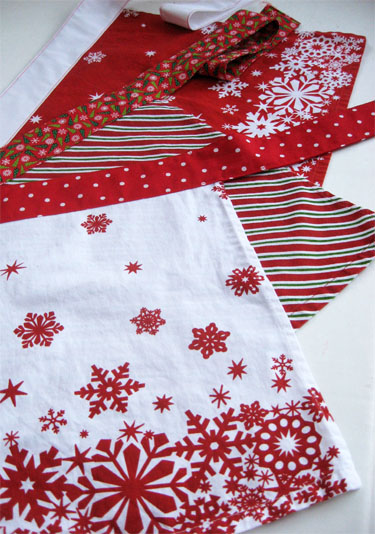
Cut tea towel in half, or if you want it a bit longer, adjust accordingly. Place left edge of towel even with the seam and insert the cut edge of tea towel inside the long strip of waistband fabric (make sure the tea towel goes clear up to the fold). Pin.
Start at the end of the sash and edge stitch all the way around, stitching the open side (making sure edges meet) first, then around to the top edge until you are back to where you started.
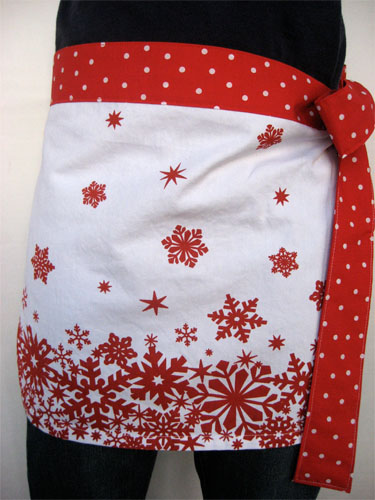
Finished!
The apron ties on the side with a bow. The ties are long enough that the apron will fit most everyone!
Wrapping
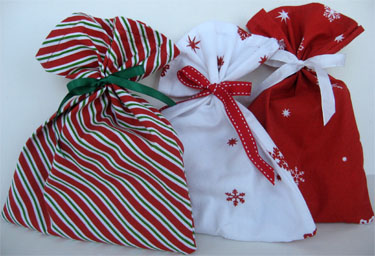
There is half (or a little less if you made apron longer) of an apron. This fabric could easily be used to make pockets, ruffles (or something I will show you later in the week) but this time I made matching fabric gift bags for the aprons!
Are you making something crafty for the holidays? Skip on over toToday's Creative Blog and link up your project. You will love all the creative ideas you will find.
Subscribe to:
Posts (Atom)